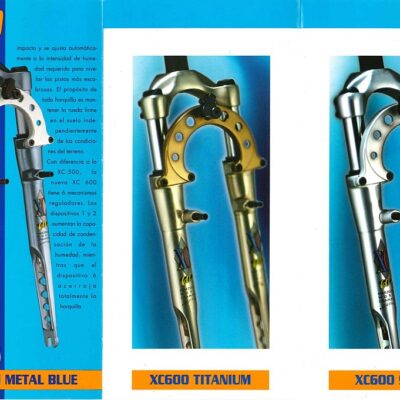
What the internet and you Marzocchi maniacs probably don’t know is, that Marzocchi rebuild the XC500 crown from about 1994 in the XC600 design. I believe they did it because of a product improvements and they continued with the design in XC600, XC700, XCR and...
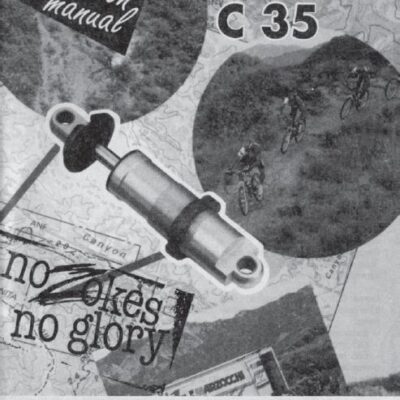
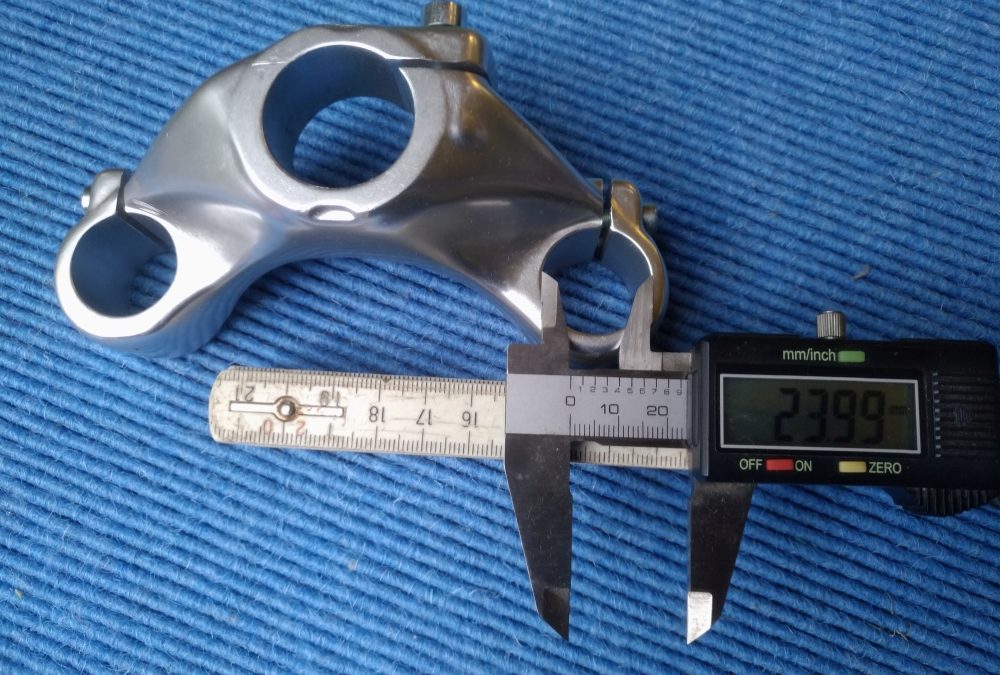
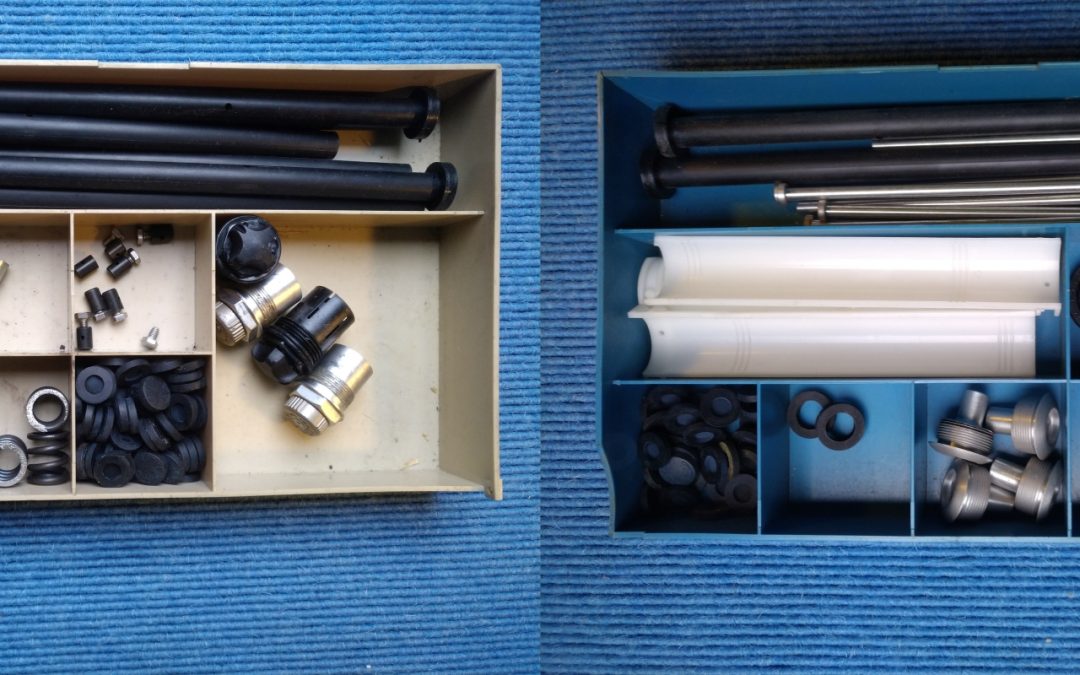
To be honest, I don’t know much about this forks. It is a elastomer fork with 24mm stanchions and Marzocchi buildt it around 1995/1996. Travel: ZOKES 2/ZOKES-PRO: 52 mm (2 inches), ZOKES TREKKING: 42 mm (1.5 inches) Weight : 1.400 – 1.500...
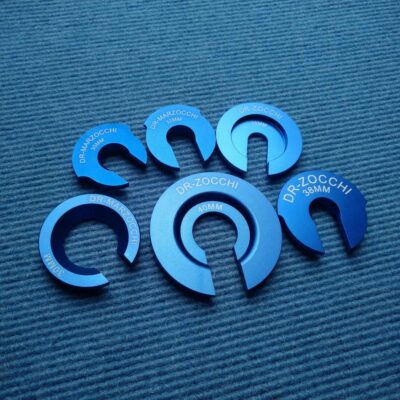
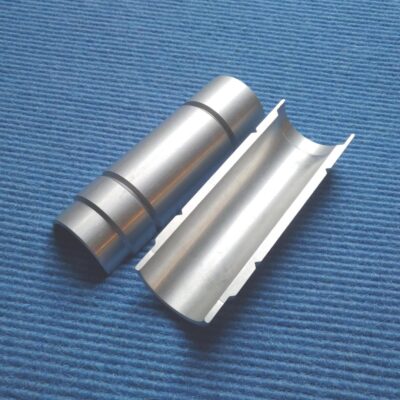
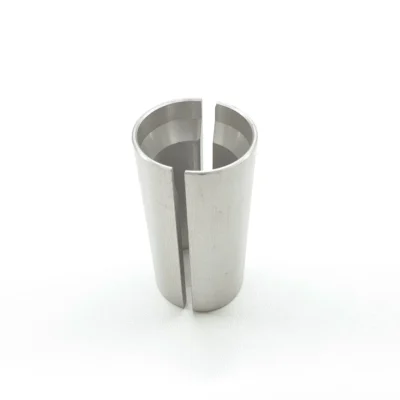
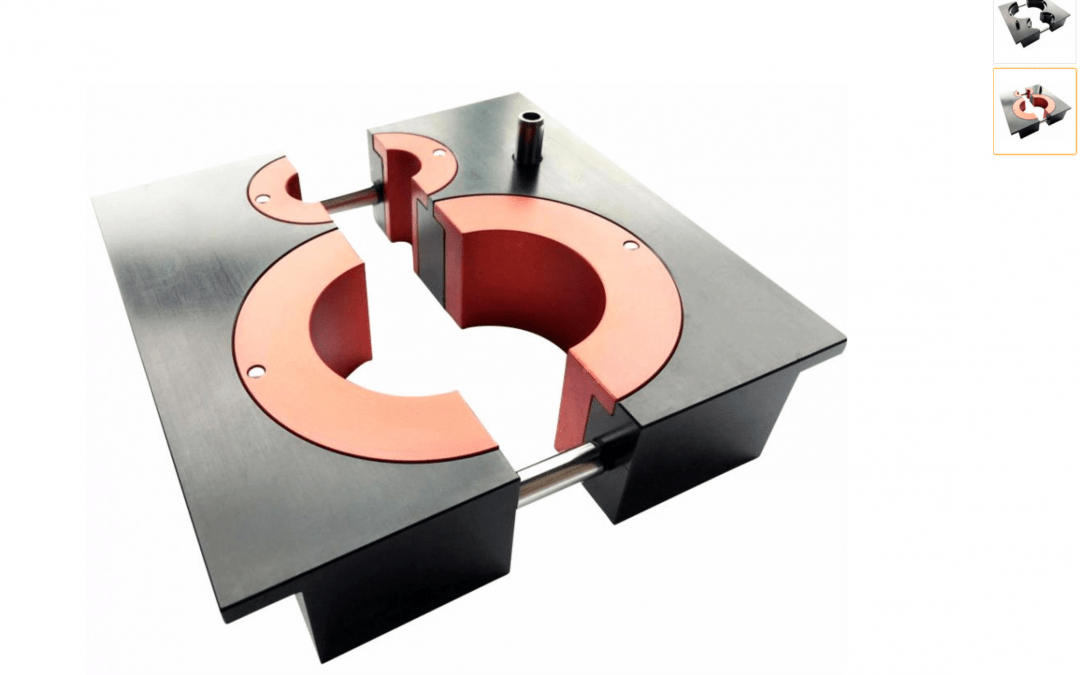
Well, over the years I had no good solution to clamp all the round parts (slider, stanchions, cartridges etc.) fork have for disassembling or assembling. Sometimes I won against a problem, sometimes I lost part. There are some very difficult cases like...
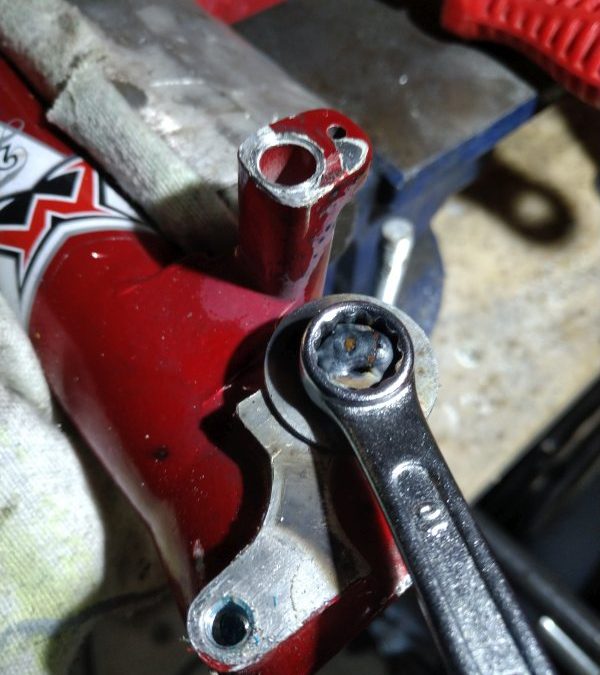
You all know, sometimes you get badly stuck, if a screw get’s teared off or the allen screw head turned round. Most common for classic Marzocchi Bombers are the 4 screws, which holds the brace (arch, brake booster) on the left and right castings. Why does...
We use cookies on our website to give you the most relevant experience by remembering your preferences and repeat visits. By clicking “Accept”, you consent to the use of ALL the cookies.
This website uses cookies to improve your experience while you navigate through the website. Out of these, the cookies that are categorized as necessary are stored on your browser as they are essential for the working of basic functionalities of the website. We also use third-party cookies that help us analyze and understand how you use this website. These cookies will be stored in your browser only with your consent. You also have the option to opt-out of these cookies. But opting out of some of these cookies may affect your browsing experience.
Necessary cookies are absolutely essential for the website to function properly. This category only includes cookies that ensures basic functionalities and security features of the website. These cookies do not store any personal information.
Any cookies that may not be particularly necessary for the website to function and is used specifically to collect user personal data via analytics, ads, other embedded contents are termed as non-necessary cookies. It is mandatory to procure user consent prior to running these cookies on your website.
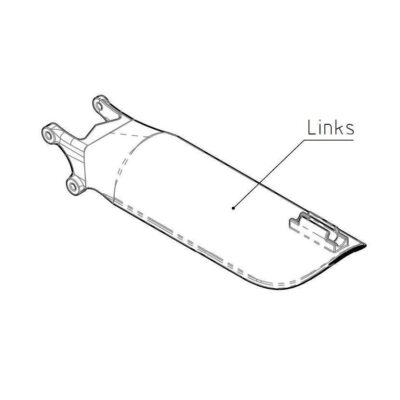
 Marzocchi SHIVER SC Guard/Protector SET (2002-2005) MTB
Original price was: 95,99 €.68,00 €Current price is: 68,00 €. VAT included
Marzocchi SHIVER SC Guard/Protector SET (2002-2005) MTB
Original price was: 95,99 €.68,00 €Current price is: 68,00 €. VAT included